
Testing your business backups isn’t just good practice — it’s the difference between a minor inconvenience and a company-ending disaster. After 20 years serving Tampa Bay businesses, I’ve seen too many Lutz companies discover their “reliable” backups were corrupted, incomplete, or simply didn’t work when they needed them most. The process involves five core steps: documenting your current infrastructure, creating an isolated testing environment, performing file-level recovery tests, executing full system restoration, and validating results with proper documentation.
Understanding the financial impact of IT downtime on small businesses reinforces why backup testing isn’t optional — it’s a critical investment in your company’s survival.
Last Updated: May 07, 2026
Here’s what most business owners don’t realize: 60% of companies that lose data shut down within six months. But here’s the kicker — having backups doesn’t guarantee survival. You need to test those backups regularly and systematically. I’ll walk you through exactly how to do this, using the same methodology we’ve refined over two decades of protecting Tampa Bay businesses.
The stakes are even higher than most realize — understanding why untested backups pose hidden risks to your business can help you avoid becoming another statistic.
Beyond data protection, don’t forget that business continuity extends to your critical infrastructure — including ensuring your communication systems stay operational during disasters, which is just as vital as recovering your files and systems.
Making backup testing a regular habit is so important that many IT professionals align their testing schedules with annual backup awareness initiatives to ensure consistent protection across their organizations.
What Are the Prerequisites for Testing Business Backups in Lutz?
Before you can test anything, you need four essential components in place. Think of this like preparing for hurricane season — you don’t wait until the storm’s approaching to check if your generator works.
For businesses in hurricane-prone areas like Apollo Beach, integrating backup testing with a comprehensive disaster recovery planning approach ensures you’re prepared for both data loss and operational disruptions.
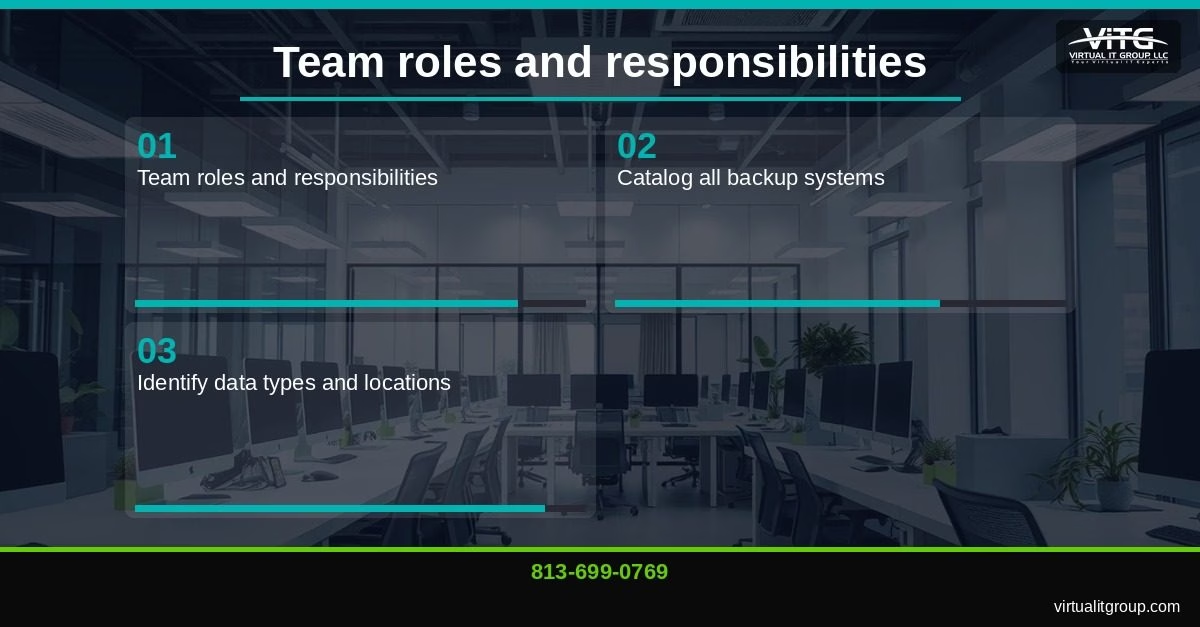
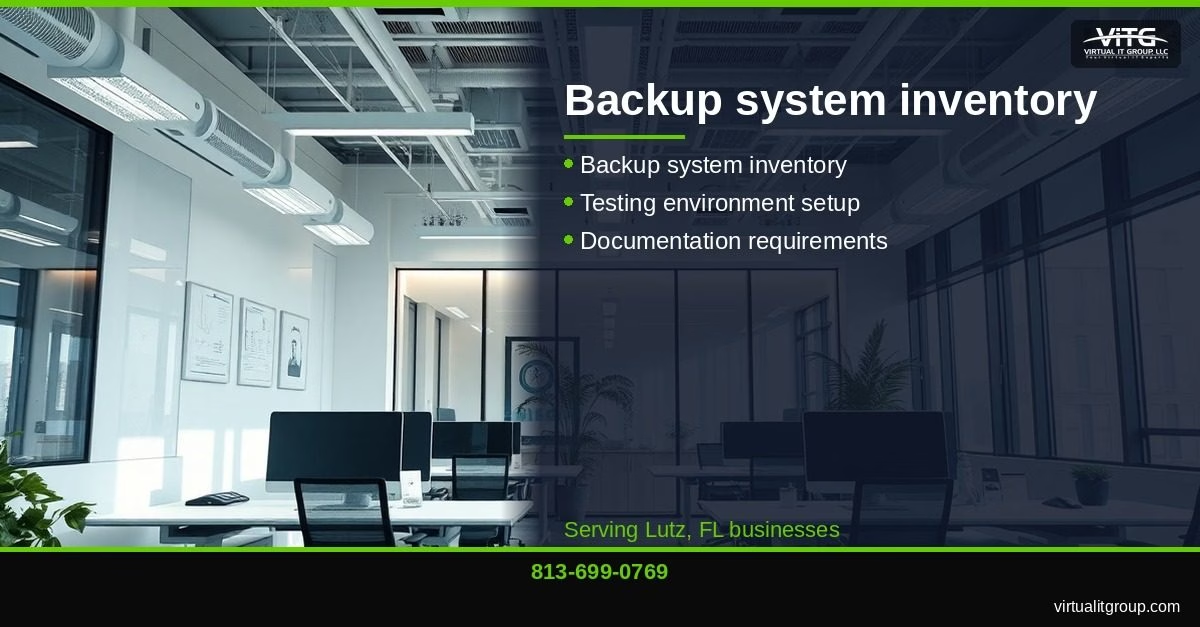
First, complete a backup system inventory. Document every backup solution your business uses — cloud services, local drives, tape systems, whatever you’ve got. I recently worked with a 28-person accounting firm in Lutz that thought they had “one backup system.” Turns out they had five different backup processes running across various departments, with zero coordination between them.
To ensure your backup system is truly resilient, consider implementing a proven backup strategy like the 3-2-1 rule, which provides multiple layers of protection without requiring a massive budget.
For businesses relying on cloud backups as part of their strategy, understanding how to quickly restore operations during an actual disaster is equally important — learn more about cloud-based disaster recovery solutions that can get your systems back online in minutes rather than hours.
When documenting your backup system inventory, don’t overlook local storage options like network-attached storage solutions for your backup infrastructure, which can provide reliable redundancy alongside your cloud and tape systems.
Second, establish a dedicated testing environment. This means separate hardware or virtual machines that mirror your production systems but remain completely isolated. Tampa Bay businesses face unique risks from hurricanes and power outages, making this isolation critical — you can’t afford to accidentally damage your production environment during testing.
Tampa Bay businesses face unique risks from hurricanes and power outages, making this isolation critical — you can’t afford to accidentally damage your production environment during testing. For a comprehensive approach to protecting your infrastructure year-round, consider reviewing our complete guide to safeguarding IT systems during hurricanes.
Third, prepare comprehensive documentation templates. You’ll need forms to record recovery times, success rates, file integrity checks, and any issues encountered. Florida businesses must comply with state data protection regulations, and proper documentation proves due diligence to regulators and insurance companies.
If your organization is still developing its backup and recovery strategy, exploring comprehensive disaster recovery solutions can help you build a more resilient framework from the ground up.
Fourth, assign clear team roles. Designate who runs the tests, who validates results, and who documents everything. Don’t make this a one-person job — you need multiple eyes on the process.
Key takeaway: Proper backup testing requires systematic preparation including inventory, isolated testing environments, documentation templates, and defined team responsibilities.
Step 1: Document Your Current Backup Infrastructure
Start by cataloging every single backup system your business uses. I’m talking about a complete audit — not just the “official” backup solution IT set up three years ago.
Walk through each department and ask what they’re backing up and where. You’ll be surprised what you find. Last month, I discovered a Clearwater law firm had attorneys individually backing up case files to personal Dropbox accounts because they didn’t trust the firm’s network drives. That’s a compliance nightmare waiting to happen.
For each backup system, document these specifics:
- Data types and file locations being backed up
- Backup frequency (hourly, daily, weekly)
- Retention policies (how long backups are kept)
- Storage locations (local, cloud, offsite)
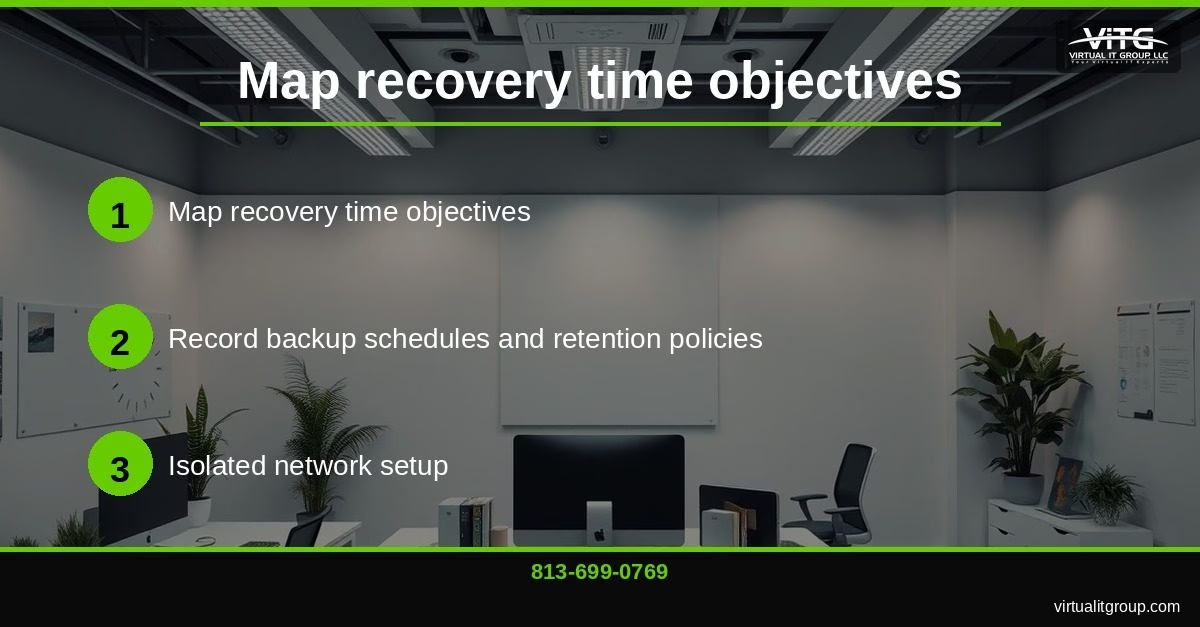
- Recovery time objectives (how fast you need data restored)
- Recovery point objectives (how much data loss is acceptable)
Map your recovery time objectives realistically. A Tampa Bay manufacturing client told me they needed “immediate” recovery for everything. After walking through their actual business processes, we identified that accounting data needed recovery within 2 hours, but archived project files could wait 48 hours. This prioritization saves money and focuses testing efforts.
Record backup schedules and retention policies for each system. I’ve seen businesses discover they were only keeping backups for 30 days when they thought retention was set to 12 months. That’s a nasty surprise during an audit.
Create a master spreadsheet or database with all this information. Include contact details for vendors, license keys, and administrative credentials. Store this documentation securely but make sure multiple people can access it — you don’t want your backup documentation to become a single point of failure.
Key takeaway: Complete backup infrastructure documentation includes data types, schedules, retention policies, and realistic recovery objectives for each system in your environment.
Step 2: Create a Secure Testing Environment
Your testing environment must be completely isolated from production systems. This isn’t optional — I’ve seen businesses accidentally overwrite live data during backup tests. That’s like using a real patient to practice surgery.
Set up dedicated test servers or virtual machines that mirror your production environment’s configuration. For most Tampa Bay small businesses, this means creating virtual machines with the same operating systems, applications, and basic configurations as your live systems.
Network isolation is critical. Your test environment should be on a separate network segment or VLAN, with no direct connectivity to production systems. Hillsborough County businesses handling sensitive customer data — healthcare, legal, financial — need this isolation to prevent accidental data exposure during testing.
Configure security protocols for your test environment. Apply the same security policies you use in production: antivirus, firewalls, access controls. The goal is creating an environment where restored data behaves exactly like it would in your real systems.
Implement strict access controls. Only authorized personnel should access the testing environment. Create separate administrative accounts specifically for backup testing — don’t use production admin credentials. I recommend requiring two-person authorization for any testing that involves sensitive data.
Document your testing environment setup completely. Include network diagrams, server specifications, installed software versions, and configuration settings. When you need to rebuild the testing environment (and you will), this documentation saves hours of troubleshooting.
Test your testing environment before using it for backup validation. Sounds redundant, but verify that applications launch correctly, databases connect properly, and network services function as expected. A flawed testing environment produces meaningless results.
Key takeaway: Secure backup testing requires completely isolated environments with proper network segmentation, security controls, and documented configurations that mirror production systems.
Step 3: Perform File-Level Recovery Tests
Start with file-level recovery tests before attempting full system restoration. This approach lets you validate backup integrity without the complexity of complete system recovery. Small businesses in Lutz and Dover should master file recovery before tackling full system tests.
Select representative test files from different data types and time periods. Choose recently created files, files from last month, and older archived files. Include different file formats — documents, spreadsheets, databases, images, whatever your business uses regularly.
Pick files of varying sizes. Test small documents (under 1MB), medium files (10-100MB), and large files (over 500MB). File size affects recovery time and success rates, especially with cloud-based backup systems.
Execute the restoration process exactly as you would during a real emergency. Don’t take shortcuts or use special administrative tools that wouldn’t be available during an actual disaster. Time each recovery operation and document the exact steps required.
Verify file integrity after restoration. Don’t just check that files restored — confirm they open correctly, contain the expected data, and function properly. I’ve seen backup systems that restored files successfully but the files were corrupted and unusable.
Test file restoration from different backup dates. Your backup system might work perfectly for yesterday’s files but fail when recovering month-old data due to retention policy issues or storage problems.
Document recovery times for each file type and size. This data helps you set realistic expectations during actual emergencies. A 50GB database might take 3 hours to restore over your internet connection — knowing this prevents panic during real disasters.
Validate restored files by opening them in their native applications. A Word document should open in Word, a database should connect properly, and images should display correctly. Functional testing catches corruption that simple file size checks miss.
Key takeaway: File-level recovery tests validate backup integrity using representative files of different types, sizes, and ages while documenting actual recovery times and verifying restored file functionality.
Step 4: Execute Full System Recovery Tests
Full system recovery testing is where you discover if your backup strategy actually works under pressure. This is the big test — restoring complete servers or workstations from backup media. Tampa Bay manufacturers and service providers need full system testing for true business continuity assurance.
Start with complete system restoration in your isolated testing environment. Restore the entire operating system, applications, data files, and configuration settings. Time the entire process — this tells you how long real disaster recovery will take.
Test application functionality after system restoration. Don’t assume applications work just because they installed correctly. Launch each business-critical application and perform typical user tasks. Test database connections, network functionality, and file access permissions.
Perform comprehensive database integrity checks. Use built-in database validation tools to verify data consistency and referential integrity. A corrupted database that appears to restore successfully is worse than an obvious failure — you won’t discover the problem until critical data is missing.
Benchmark system performance after restoration. Compare CPU usage, memory consumption, disk I/O, and network performance against your production baseline. Degraded performance might indicate hardware issues, driver problems, or incomplete restoration.
Test user authentication and access controls. Verify that user accounts, passwords, and permissions restored correctly. Security settings are often overlooked during restoration but are critical for business operations.
Validate network connectivity and external integrations. Test internet access, email functionality, cloud service connections, and any third-party system integrations your business depends on.
Execute end-to-end business process tests. Have users perform actual work tasks on the restored system — process orders, generate reports, access customer data. This functional testing reveals problems that technical checks miss.
Document everything: restoration time, issues encountered, performance metrics, and resolution steps. This documentation becomes your disaster recovery playbook when you face a real emergency.
Key takeaway: Full system recovery testing validates complete disaster recovery capabilities by restoring entire systems and verifying application functionality, database integrity, and end-to-end business processes.
How Often Should Tampa Bay Businesses Test Their Backups?
Testing frequency depends on your business criticality, regulatory requirements, and risk tolerance. But here’s my baseline recommendation after working with hundreds of Tampa Bay businesses: monthly file-level tests, quarterly system tests, and annual full disaster recovery drills.
Monthly file-level recovery tests should be routine. Pick different file types each month and test restoration from various backup dates. This catches backup failures quickly before they become catastrophic problems. A Lutz medical practice we work with discovered their patient database backups were failing after just two weeks because of this monthly testing.
Quarterly full system recovery tests validate your complete disaster recovery capability. Test different systems each quarter — don’t always test the same server. Include workstation recovery, server restoration, and cloud service recovery in your rotation.
Annual comprehensive disaster recovery drills simulate real emergency conditions. Involve your entire team, test communication procedures, and validate business continuity plans. Florida hurricane season makes these annual drills especially important for Tampa Bay businesses.
Compliance-driven schedules may require more frequent testing. Healthcare businesses must follow HIPAA requirements, financial services need SOX compliance, and government contractors face additional regulations. These industries often require monthly or even weekly backup validation.
Increase testing frequency after major system changes. New software installations, hardware upgrades, or configuration changes can break backup processes. Test within 48 hours of any significant system modification.
Event-driven testing responds to external factors. Test backups before hurricane season, after power outages, following security incidents, or when changing backup vendors. External events can reveal backup vulnerabilities that routine testing misses.
Key takeaway: Tampa Bay businesses should perform monthly file recovery tests, quarterly system recovery tests, and annual disaster recovery drills, with additional testing driven by compliance requirements and system changes.
Step 5: Validate and Document Test Results
Testing without proper validation and documentation is like taking a test but never checking your score. You need systematic evaluation criteria and comprehensive record-keeping to make backup testing valuable.
Establish clear success criteria before testing begins. Define what constitutes successful file recovery (correct size, opens properly, data intact), successful system recovery (boots correctly, applications function, performance acceptable), and successful disaster recovery (business operations resume within target timeframes).
Analyze performance metrics systematically. Compare actual recovery times against your recovery time objectives. If you need email restored within 2 hours but testing shows 4-hour recovery times, you have a problem that needs addressing.
Identify and categorize issues discovered during testing. Distinguish between critical failures (data corruption, system won’t boot), major issues (slow performance, missing applications), and minor problems (cosmetic issues, non-critical errors). This prioritization guides remediation efforts.
Document remediation steps for each issue identified. Don’t just note that something failed — record exactly how you fixed it. This documentation becomes invaluable during real emergencies when stress levels are high and clear thinking is difficult.
Create compliance documentation for regulatory and insurance purposes. Dade City and Gibsonton businesses need proper documentation for insurance claims and regulatory audits. Include test dates, procedures followed, results achieved, and issues resolved.
Maintain historical testing records to identify trends and patterns. Are recovery times getting slower? Are certain file types failing more frequently? Historical data reveals systemic problems that individual test results might miss.
Generate executive summary reports for business leadership. Include key metrics (success rates, recovery times, critical issues), trend analysis, and recommendations for improvement. Business leaders need this information for budgeting and risk management decisions.
Key takeaway: Effective backup testing validation requires clear success criteria, systematic performance analysis, comprehensive issue documentation, and historical record-keeping for compliance and trend analysis.
Common Backup Testing Mistakes to Avoid
I’ve seen the same backup testing mistakes repeated across hundreds of Tampa Bay businesses. Learning from 20 years of experience can help you avoid these costly errors that compromise backup reliability.
Never test backups in your production environment. This seems obvious, but I’ve watched businesses accidentally overwrite live data during “quick backup tests.” Always use isolated testing environments, even for simple file recovery tests.
Don’t assume restoration success without verification. Just because files restored doesn’t mean they’re usable. I’ve seen backup systems successfully restore corrupted databases that appeared functional but contained invalid data. Always verify restored data integrity.
Avoid testing only recent backups. Many businesses test yesterday’s backup and assume older backups work identically. Test backups from different time periods — last week, last month, last quarter. Backup systems can degrade over time.
Don’t ignore security protocols during testing. Some administrators disable security features to “simplify” testing procedures. This creates unrealistic test conditions and potentially exposes sensitive data during the testing process.
Never skip documentation because “it’s just a test.” Poor documentation practices during testing translate to poor documentation during real emergencies. Document everything as if your business depends on it — because it does.
Avoid testing the same systems repeatedly while ignoring others. Many businesses always test their primary file server but never test workstation backups or secondary systems. Rotate your testing to cover all backup systems over time.
Don’t test backups only when convenient. Schedule regular testing during normal business hours with appropriate staffing. Emergency restoration won’t wait for convenient timing — your testing shouldn’t either.
Key takeaway: Common backup testing mistakes include using production environments, skipping verification steps, testing only recent backups, ignoring security protocols, poor documentation, and inconsistent testing coverage.
Frequently Asked Questions
How long should backup testing take for a small business in Lutz?
File-level recovery tests typically take 30-60 minutes per session, while full system recovery tests require 4-8 hours depending on data volume and system complexity. Monthly file testing should consume about 2 hours total, quarterly system testing needs a full day, and annual disaster recovery drills require 2-3 days including preparation and documentation.
What happens if my backup test fails in Tampa Bay?
Backup test failures require immediate investigation and remediation. First, determine if the failure affects current backups or only older data. Contact your backup vendor or IT support provider immediately. Document the failure completely and implement temporary backup measures if needed. Don’t ignore test failures — they often indicate systemic problems that will cause real disasters.
Do Florida businesses have specific backup testing requirements?
Florida doesn’t mandate specific backup testing frequencies, but businesses in regulated industries must follow federal requirements. Healthcare organizations need HIPAA compliance, financial services require SOX compliance, and government contractors face additional regulations. Florida’s hurricane risk makes regular backup testing especially important for business continuity and insurance purposes.
How much does professional backup testing cost in Hillsborough County?
Professional backup testing services typically cost $150-300 per hour, with comprehensive testing projects ranging from $2,500-7,500 depending on system complexity. Many managed IT providers include backup testing in monthly service agreements. Consider this cost against potential data loss — the average small business data loss incident costs $18,000-35,000 in recovery expenses and lost productivity.
What backup testing tools work best for Tampa Bay businesses?
Effective backup testing tools include Veeam SureBackup for virtual environments, Acronis Universal Restore for physical systems, and built-in validation features in cloud backup services like Microsoft 365 and AWS. Many backup solutions include automated testing capabilities. The best tool depends on your specific backup infrastructure — consult with qualified IT professionals for recommendations tailored to your environment.
Proper backup testing isn’t just technical due diligence — it’s business survival insurance. After two decades serving Tampa Bay businesses, I’ve seen companies saved by thorough backup testing and destroyed by assumptions about backup reliability. The methodology I’ve outlined here has protected hundreds of Lutz businesses from data disasters.
Remember: backups that aren’t tested are just expensive storage. Your business depends on data recovery working perfectly during emergencies. Don’t discover backup failures when you can least afford them.
If you need professional backup testing services or want to validate your current backup strategy, contact Virtual IT Group, LLC at 813-699-0769. Our team has been protecting Tampa Bay businesses for 20 years, and we’d be happy to help ensure your backups work when you need them most.